
When it comes to learning photography or learning about anything for that matter, it is always important to have the basics down. Basics are the foundation of knowledge upon which we build to improve our skills. And in photography, nothing is more basic than understanding The Exposure Triangle.
Photography is all about light, without light there are no photos. After all, photography literally means “light painting”. Light enters a camera and then exposes the film or sensor to make a photo. The exposure triangle is the relationship between 3 variables or settings – the shutter speed, aperture, and ISO, and how the three work together in order to produce a “properly exposed” photo.
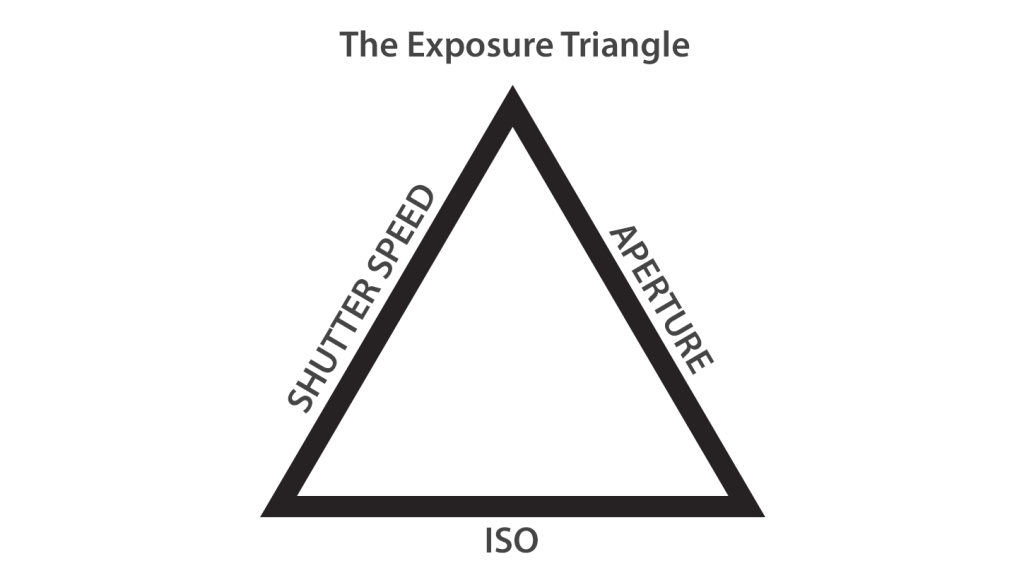
| I. Shutter Speed | Controls the exposure time |
| II. Aperture | Controls the amount of light coming in |
| III. ISO | Controls the sensitivity of the film/sensor |
Aside from giving you control over exposure, adjusting these settings are crucial to how you want your photos to look. Sometimes, you might want to prioritize one over the other, but keep in mind that you still need to find the balance between the three every time. That is why it is very important to understand them individually and as a whole. Now, let’s learn them one by one.
I. Shutter speed

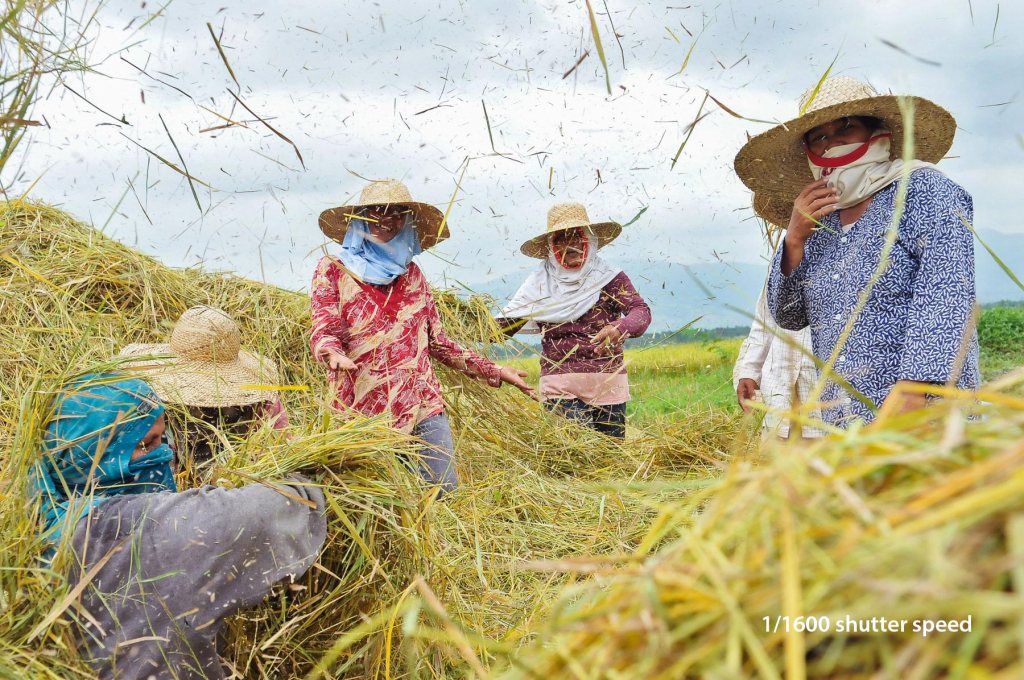
The shutter speed is the length of time the camera’s shutter remains open to allow the light in and hit the sensor/film. The shorter the shutter is open (fast shutter speed), the less exposure of the film/sensor to the light. The longer the shutter is open (slow shutter speed), the more exposure to the light.
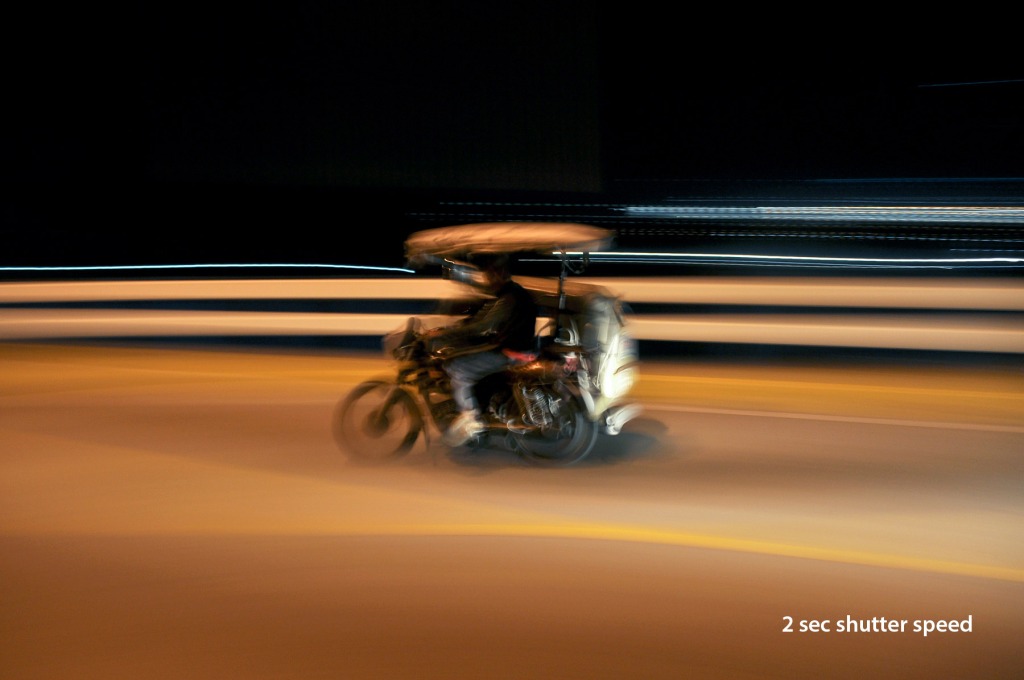
But aside from that, the shutter also does one important thing – it affects motion. A fast shutter speed freezes action while a slow shutter speed introduces motion.
II. Aperture
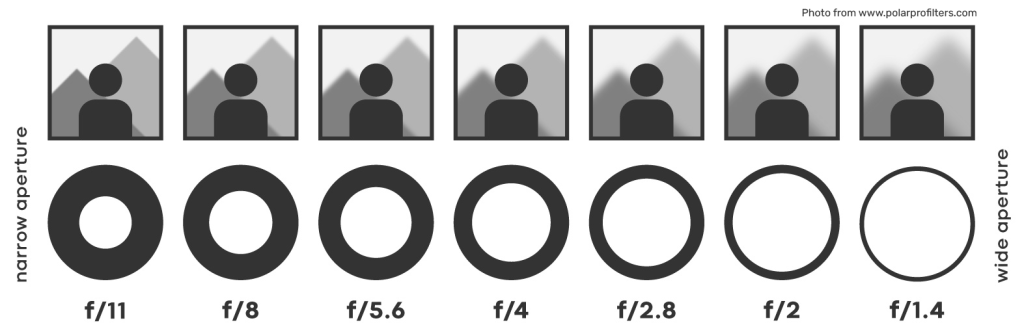
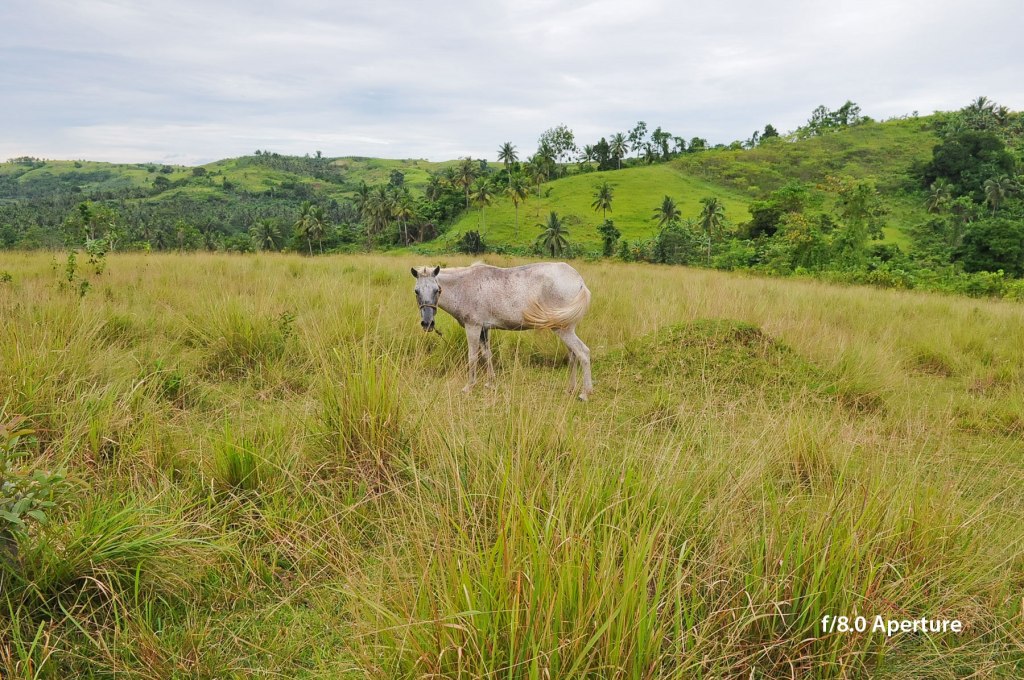
Aperture is like the iris of our eye and is referenced as f-stops (f). The aperture blades on the lens control how much light is let in. The smaller the opening (narrow aperture), the less light reaches the film/sensor. The bigger the opening (wide aperture), the more light reaches the film/sensor.
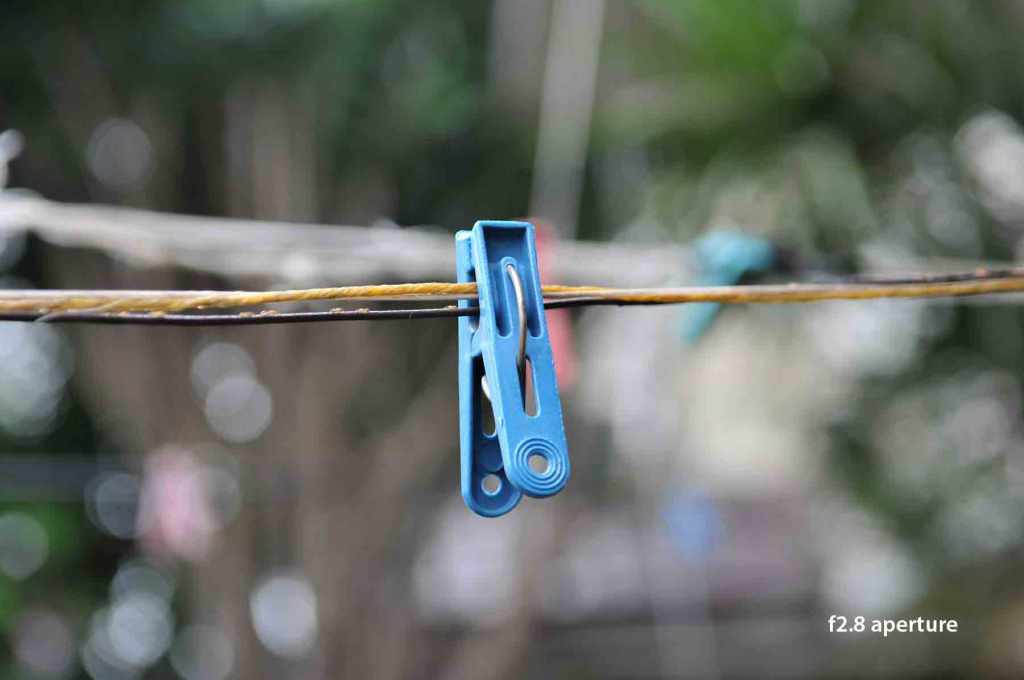
And just like the shutter speed, the aperture does another important thing – it affects the depth of field. A narrow aperture (large f-number), renders more of the image in focus. A wide aperture (small f-number), renders less of the image in focus. Having a wide aperture is also the reason for photography’s favorite word – Bokeh. Bokeh is the way the lens renders out-of-focus parts of an image.
I know, the aperture is the most confusing part of the exposure triangle because of the f-number. But you’ll get the hang of it over time, trust me. 🙂
III. ISO

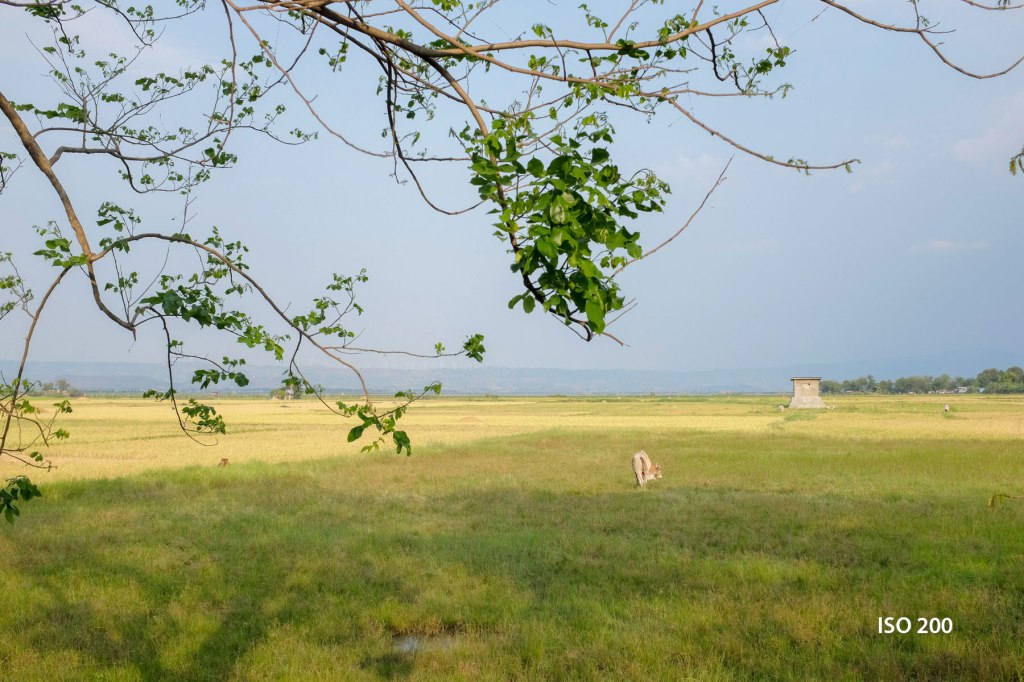
Lastly, the ISO. ISO is the sensitivity of the film or sensor to light. The higher the ISO, the more sensitive it is, and the lower the ISO, the less sensitive it is. Increasing the ISO, allows you to work with less light. But here’s the caveat:
Using high ISO, produces a more muddy and grainy (noise) photo. While using low ISO, produces a more crisp and clean photo. As a rule of thumb, you want to use the lowest ISO you can, every time.
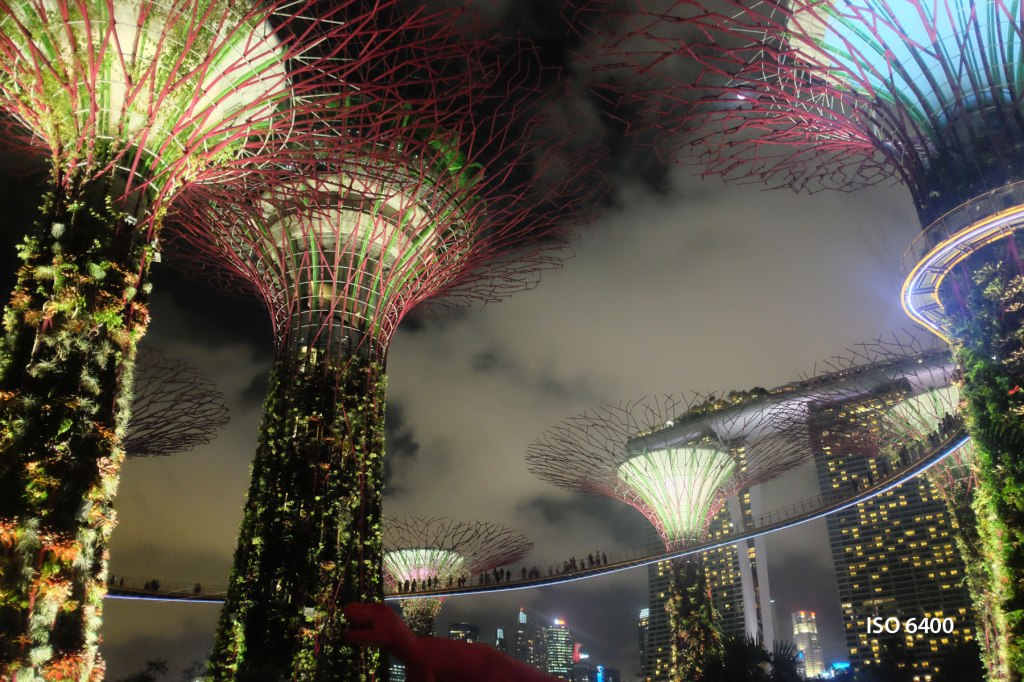
So why use a high ISO when it makes your photos look crappy? Well, high ISO becomes handy when you need to shoot handheld in low-light situations. A mentor once told me, “I’d rather have a noisy photo than no photo at all”. Also, camera technology has gone so far over the years that most modern cameras have a cleaner ISO even on high settings.
Now that we know the functions of each setting, it is now time to understand the relationship they have with each other. As mentioned earlier, we adjust the three settings to expose our photos correctly. Below is a sample of a well-exposed scene. You can see that the highlights (clouds) and shadows still have a good amount of detail while exposing for the midtones.
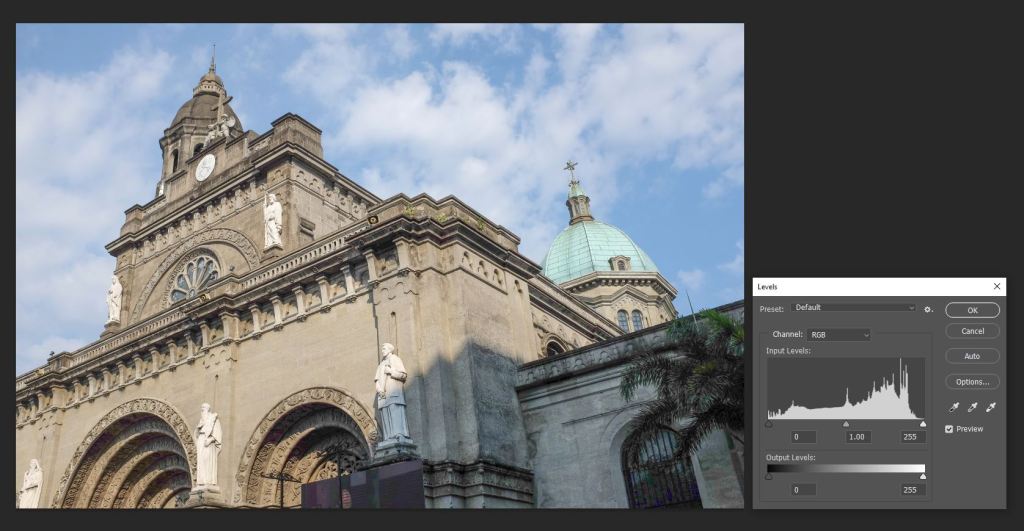
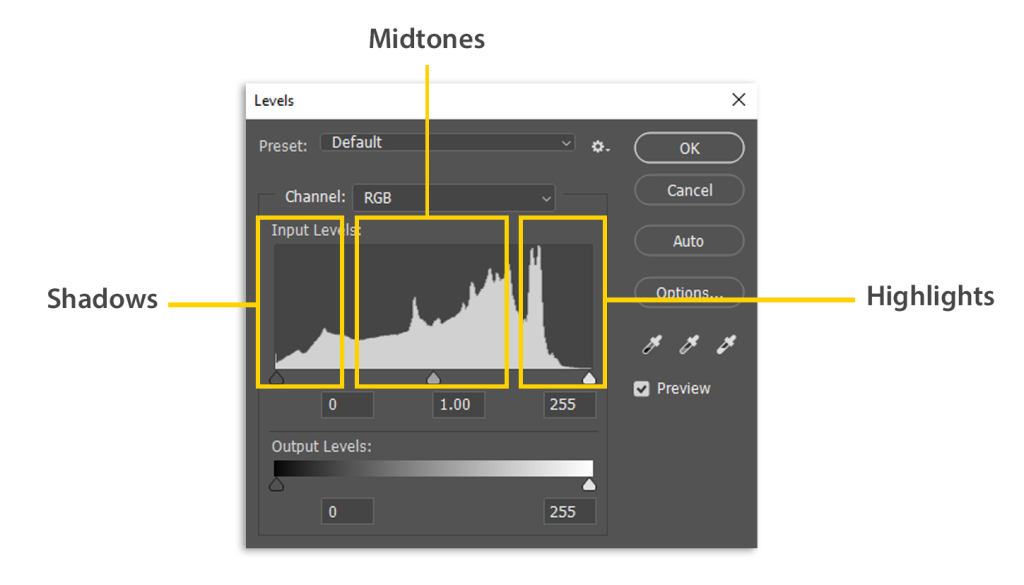
You can also see your histogram to know your photo’s exposure. Typically, a well-exposed photo has the right balance on its histogram.
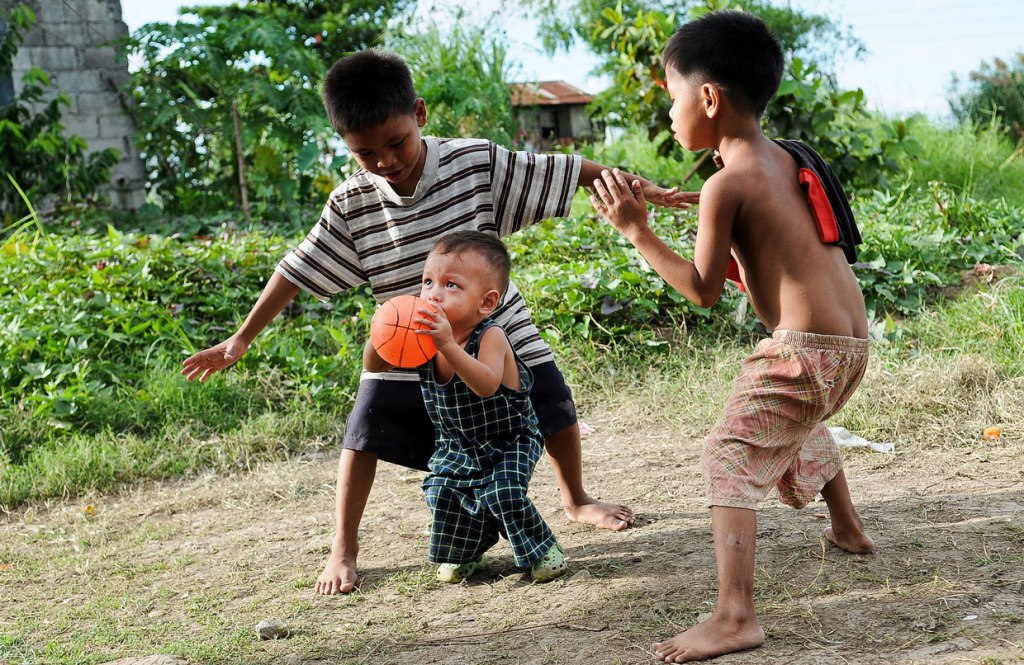
Okay, so what settings should we use in order to achieve the right balance? Well, it depends. Are you shooting a fast-moving subject and wanted to freeze the action, while isolating your subject from your background? Then you need a high shutter speed (eg. 1/1000th) and a wide aperture (eg. f2.8).
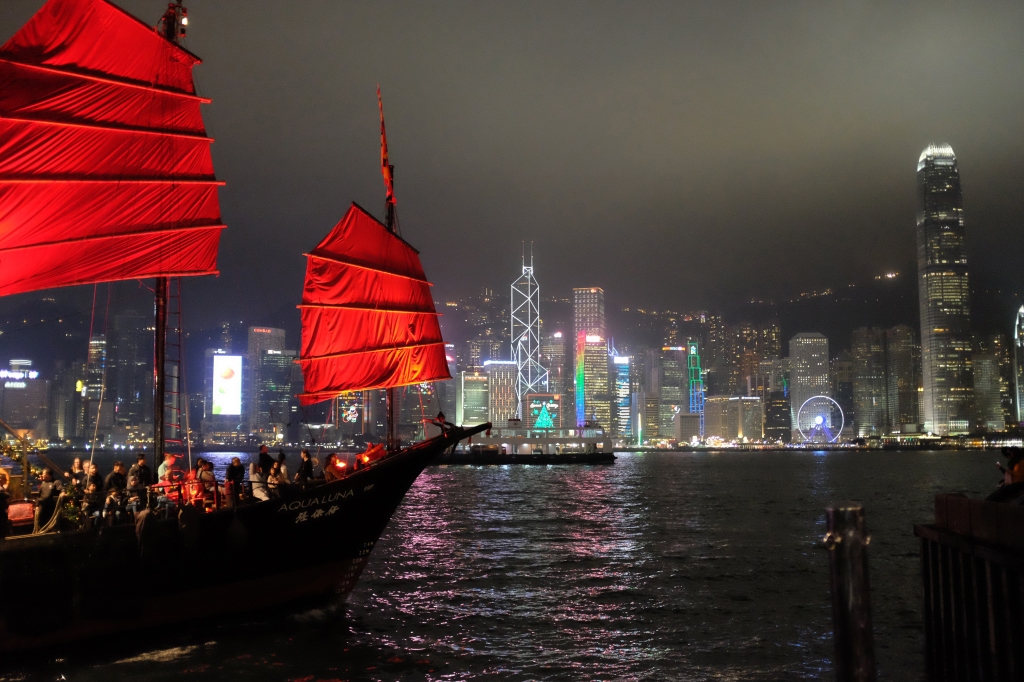
How about shooting in low light while still freezing an action? For that, you need a fast shutter speed (to freeze the action), a wide aperture (to let more light in), and a high ISO (for the sensor to be more sensitive to light). The wide aperture and high ISO will allow you to use a high shutter speed in low-light situations.
What if I want to show movement while shooting on a sunny day? Use a slow shutter speed, narrow aperture (to let less light in), and a low ISO.
You see there are thousands of combinations you can use on your settings. It all boils down to what scenario is in front of you and how you want your photos to look. But with practice and understanding of the principle of the exposure triangle, these things will come naturally to you over time. So go out there and shoot! After all, the best way to improve on something you’ve learned is to practice, practice, and practice. Or should I say? shoot, shoot and shoot more!
Again thank you for reading my blog. Don’t forget to share this with your friends and follow me on my social. I plan on releasing a series of Basic photography lessons in the future so please stay tuned. 🙂
